With kids at home, sometimes the weekends can feel like hours of monotonous video games and endless TV repetition. Honestly, it can be hard to keep the kids busy and engaged. We are here to help! With just a few crafty and creative ideas, you can have your house buzzing with activity, creativity, and smiles.
From painting to making no-sew sock sharks, we’ve got 10 awesome and easy DIY art projects for kids that will show them how fun it is to craft at home. So keep them busy this weekend with some of these fun art projects for kids. Bust out the paint sets, and let the creativity begin!
Why Art Projects Are Awesome
We’re sure that any parent already knows how vital creativity is for inspiring kids to use their brains in a good way. Art projects keep kids active, encourage their artistic growth, and let them have some good, clean fun.
When a child creates artwork, it stimulates physical activity, giving their active bodies much-needed exercise. It also fires up their imagination, allowing them to explore ideas, create stories, and exercise problem-solving techniques.
Art activities also help children find a balance between playtime and ‘normal’ everyday tasks. Completing projects can provide a child with a sense of accomplishment when they know they’ve done something right.
Last but not least, participating in weekend art projects as a family is a great way to bond. It can bring everyone together to join in laughter, smiles, and comradery.
10 DIY Weekend Art Projects for Kids
No-Sew Sock Puppets
Everyone loves a sock monkey…or puppet. Craft up a cute soft puppet in less than an hour. Simply choose a sock and slide it onto your hand, with the heel resting on your wrist. Secure the toe area with a rubber band, creating the puppet’s head. Embellish with googly eyes, felt, and yarn for features. For a mouth, cut a small slit and attach a felt tongue. Let the creativity flow as you transform socks into delightful characters, perfect for hours of imaginative play.
Rock Daisy Jewelry
Create cheerful daisy jewelry for you and your little ones with a few rocks and paint. First, find some smooth, flat stones. Paint the center of each stone yellow and let it dry. Add white petals around the yellow center. Once dry, seal with clear varnish. Glue small, flat metal pieces to the back for durability and to attach a necklace chain or earring hook. Express your natural style with these charming rock daisy accessories, a fusion of nature and fashion.
Gravestone Rubbings
It’s not as scary as it sounds. It’s a traditional and fun activity around the world! Place thin paper over a gravestone. Gently rub a dark crayon or charcoal sideways to capture details. Avoid causing damage and respect the site. Back at home, trim and mount the rubbing. It’s a meaningful way to preserve historical markers and study intricate designs while paying homage to the past.
Homemade Slime
Kids love gooey things, and making them can be just as fun. In a bowl, mix half a cup of glue and a few drops of food coloring. Stir in ¼ cup of water. Slowly add half of a cup of liquid starch while stirring until slime forms. Knead it with your hands until smooth. Adjust consistency with more starch if needed. Store in an airtight container for hours of squishy entertainment. Remember, adult supervision is advised.
Origami
Sit around the table together and enjoy the calming activity that is origami. Start with a square paper. Fold it in half diagonally both ways, then unfold. Fold corners to meet the center, forming a smaller square. Flip and fold edges to the center, creating a triangle. Fold the triangle in half, then form a diamond by bringing corners to the top. Open one flap and squash down into a square. Fold down the top triangle. Finally, shape and refine your origami masterpiece. You can find thousands of other origami designs and instructions online.
Carnation Hearts
An oldie but a goody, introduce your kids to the classic carnation art. Draw or print a heart template. Cut out multiple paper hearts. Gently fold each heart in half without creasing. Glue the folded hearts around another heart’s outline, creating layers like petals. Attach a button or bead at the center. Adjust and overlap as desired. Hang your dimensional carnation heart creation as a lovely decoration, perfect for celebrating love and beauty.
Nature Collage Canvas
Venture outdoors to collect leaves, flowers, and twigs, then create a stunning collage on a canvas using these natural treasures. Gather a variety of natural elements like leaves, flowers, and twigs from outside. Prepare a canvas and acrylic paint if desired. Arrange the collected items on the canvas to create a pleasing composition. Once satisfied, apply a thin layer of glue to the back of each element and press it onto the canvas. Let it dry. Consider adding painted details or a background to enhance the collage. Display your masterpiece proudly, capturing the beauty of the outdoors and your artistic flair in a unique and captivating way.
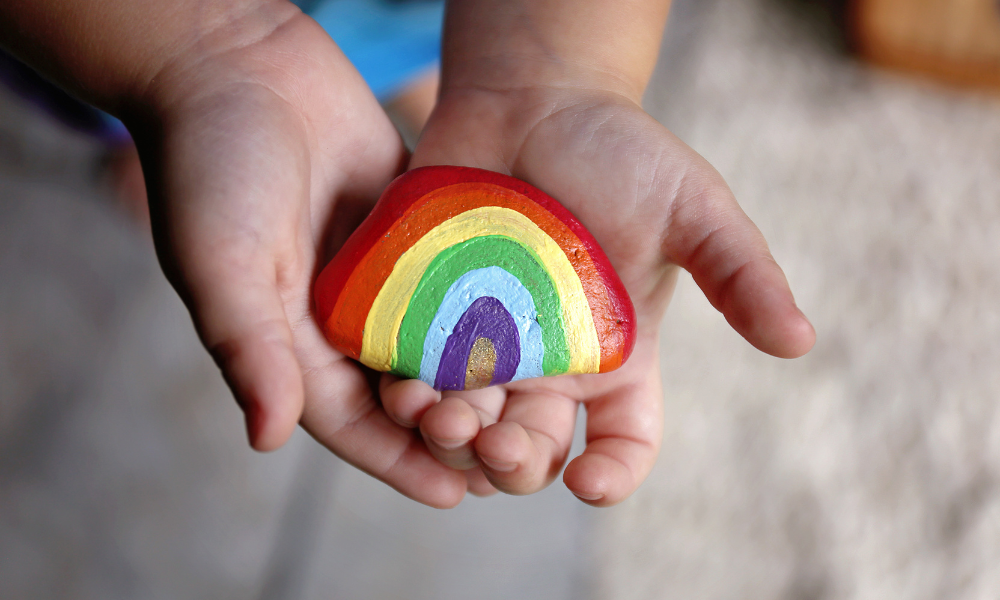
Rock Painting
Embark on a rock-painting escapade, decorating smooth stones with colorful designs, patterns, and even inspirational messages. Select smooth, clean rocks. Wash and dry them. Use acrylic paints and brushes to create your designs. Start with a base coat and let it dry. Add details, patterns, or even miniature scenes. Once dry, apply a coat of sealant to protect your artwork. Get creative and let your imagination run wild, transforming ordinary rocks into vibrant and decorative pieces to display in gardens, on shelves, or as thoughtful gifts.
Classic Canvas Painting
One of the best ways to let your kids show their creativity is through painting. Lay out these materials: canvas, acrylic paints, brushes, water cups, and paper towels. Pick a subject or let your imagination flow. Start with a light background layer. Build layers with bigger brushes, adding details with smaller ones. Experiment with colors, shapes, and textures. Let dry and proudly display your masterpiece. Encourage creativity and fun while painting!
T-shirt Painting
Let your kids personalize plain t-shirts with fabric paints or markers, showcasing their individual style and wearable art. Prepare a plain cotton shirt, fabric paints, brushes, stencils (optional), and a palette. Insert cardboard inside the shirt to prevent bleed-through. Choose a design or sketch directly on the fabric. Apply fabric paint using brushes or stencils. Blend colors and add details. Let the paint dry as per instructions. Heat-set the paint to make it permanent, either by ironing or placing the shirt in a dryer. Enjoy wearing your personalized masterpiece, a wearable canvas that reflects your creativity and style. Wash and care according to paint instructions to preserve your artwork.
Conclusion
We hope that these simple art projects inspire you and give you some ideas on how to transform dull weekends into exciting and productive crafting times. So, check your storage sheds for any old supplies you may have lying around the house. You’ll be able to get the kids’ creative juices flowing in no time, and you may help spark a whole new passion of their own. Happy weekend crafting!


